 In Good Flavor
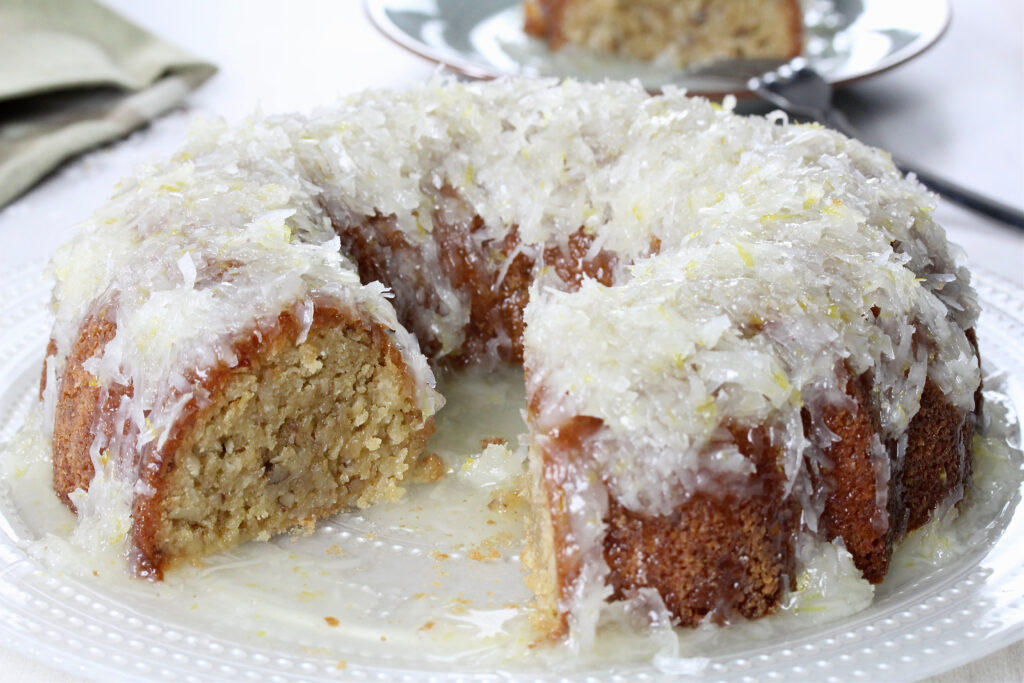
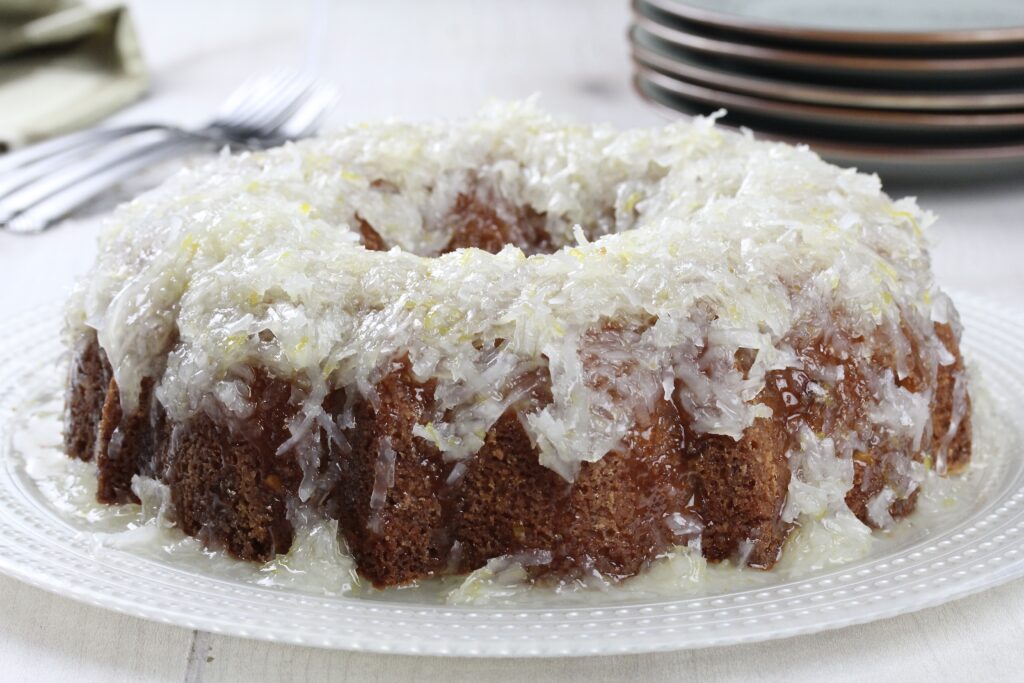
I had to give this Grandma Yearwood’s Coconut Cake a try when I first saw it. This rich, moist, and coconutty cake is made with vanilla wafers crumbs and topped with a lemon coconut glaze. It’s simply amazing!
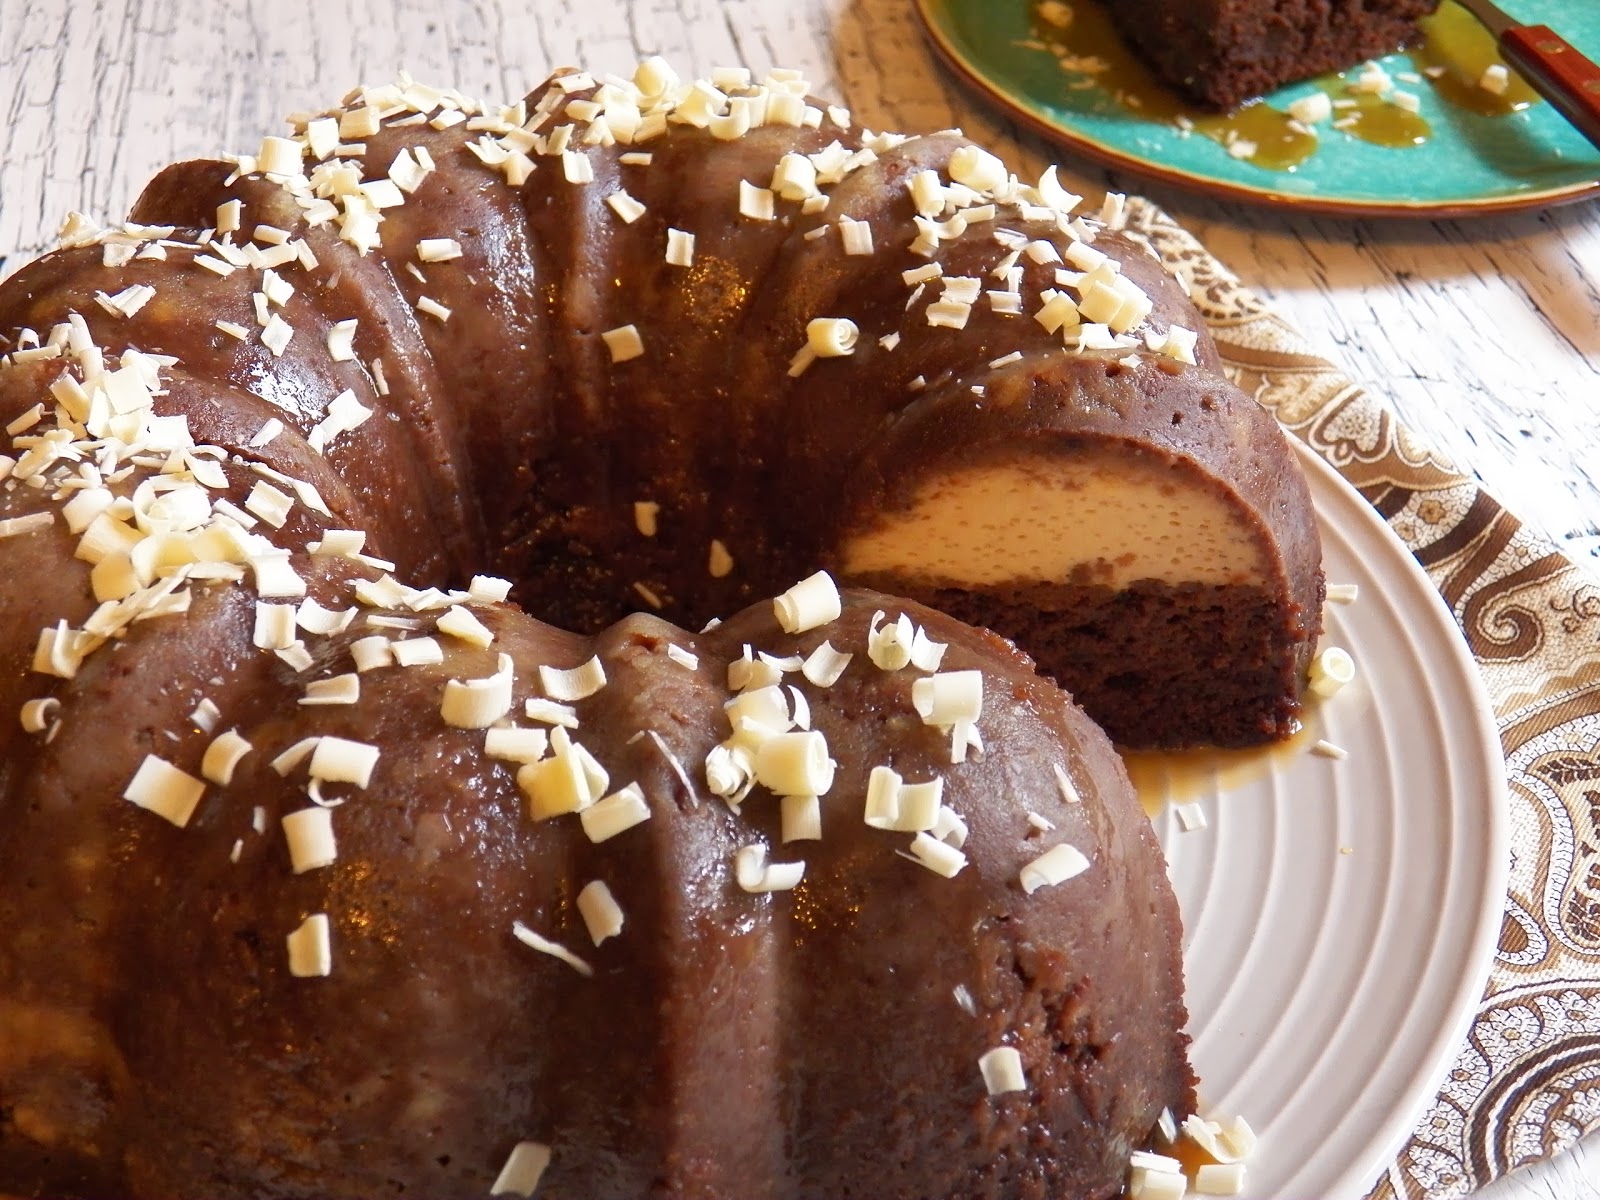
Are you all about bundt cakes? Try my Pumpkin Flan Cake with Maple Brown Butter Glaze.
Note: This post has been updated with new images and added content since its original publication in11/05/13.
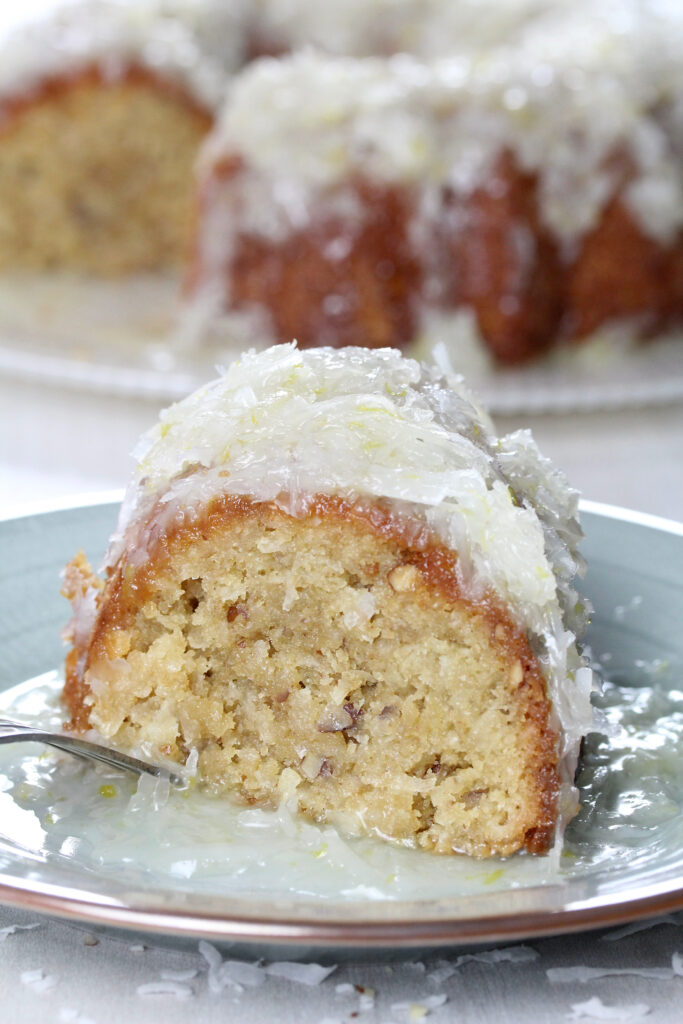
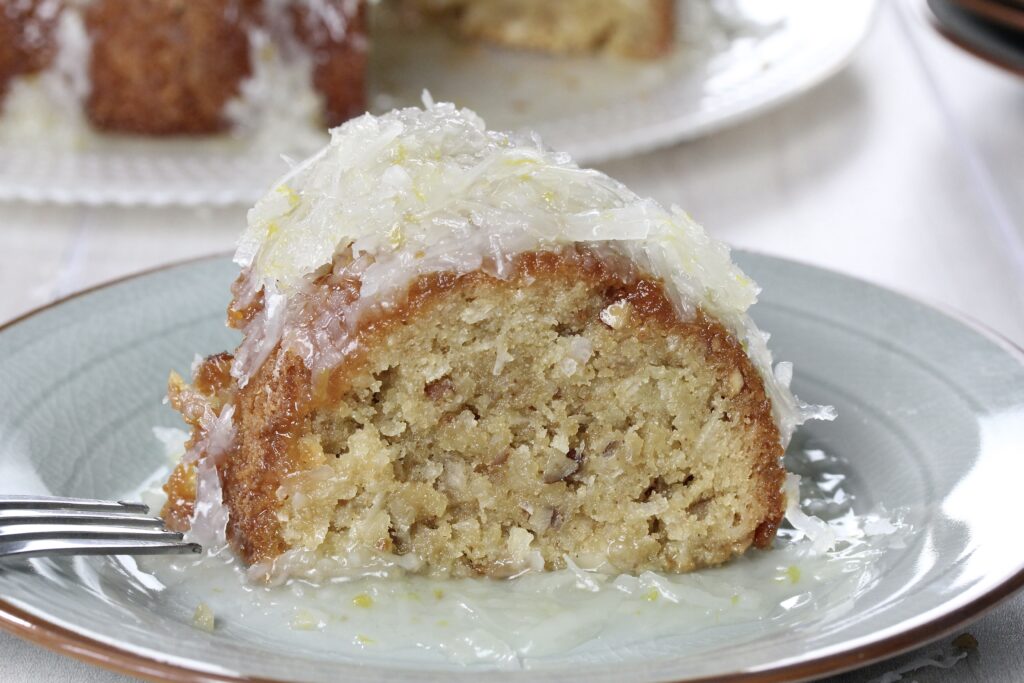
Vanilla wafer coconut cake is a recent discovery for me. I was curious about this novelty and did a little research. It didn’t take long for me to conclude that every Southern family has their own version of this cake, so it seems. Naturally, my curiosity was piqued—I had to make one. Let me tell you, it is DEE-li-cious! It is decadent, rich, moist, and sweeeeeeet!
The only dilemma I had was deciding which recipe to use. In the end, I went with Trisha Yearwood’s because I had seen her make it on her cooking show. Another deciding factor was her coconut lemon glaze which sounded luscious.
4 tips you want to know:
After having made this cake several times, I have a few tips that I like to share:
Tip number one: if you decide to use a fancy bundt pan, make sure to prep it REALLY well for easy unmolding. The first time I made the cake was for my sister’s birthday. I used an intricately designed bundt pan with lots indentations and curvatures. I had greased and floured it, but when I tried to unmold the cake, the sucker would not come out! The pretty presentation I had in mind never came to fruition. In the end, I poured the glaze over the unmolded cake, stuck in a few candles, and called it a day. Thank goodness the cake was amazing, and neither the birthday girl nor anyone else cared that it they didn’t get a perfect slice.
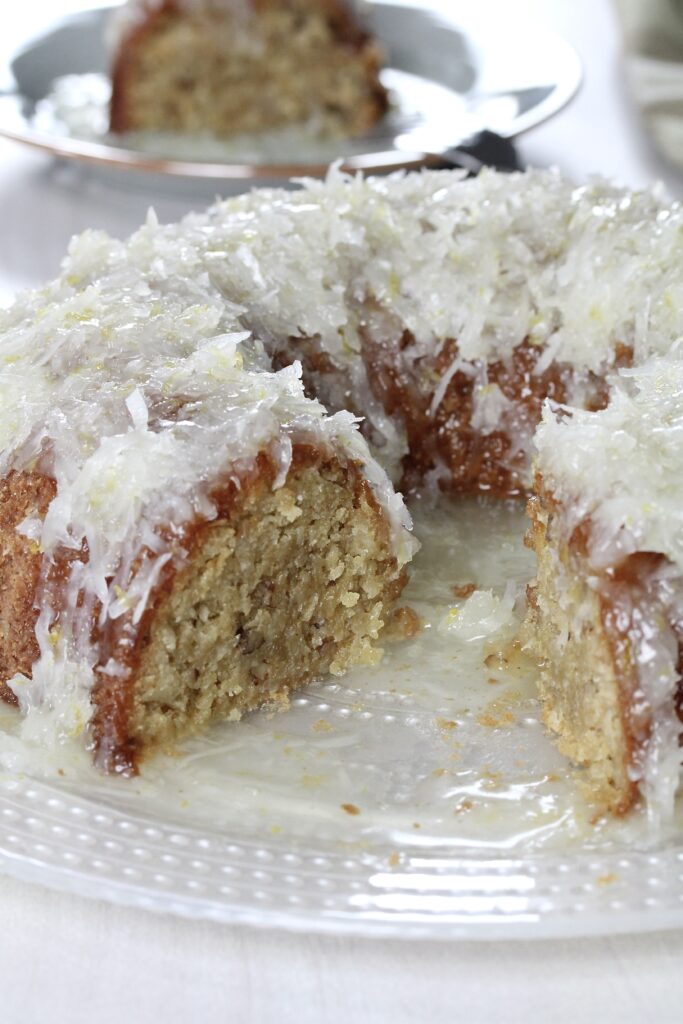
Tip number two: the original recipe instructs you to turn the cake onto a rack after cooling for 10 minutes. If you are able to do it successfully, please let me know. For this particular cake, I find that it is too delicate and breaks off at this point. I typically allow it to cool for 45 minutes before unmolding.
Tip number three: the recipe uses unsweetened coconut flakes, but if all you have is the sweetened ones, use those. I don’t always have the former on hand, but I usually have the latter. I make sure to reduce the sugar by 1/3 cup in the cake and 1/3 cup in the glaze when using sweetened coconut flakes.
The last tip: Trisha’s recipe calls for a 12 oz. box of vanilla wafers, but please be aware that these cookies come in two size boxes, 11 oz. and 12 oz, depending on the brand. If you use an 11 oz. box, there is no need to purchase another one, just make up the disparity by adding 1/8 cup flour to the recipe.
Recipe highlights:
- Preheat oven to 325° F. Prepare a 9-inch bundt pan with butter and flour.
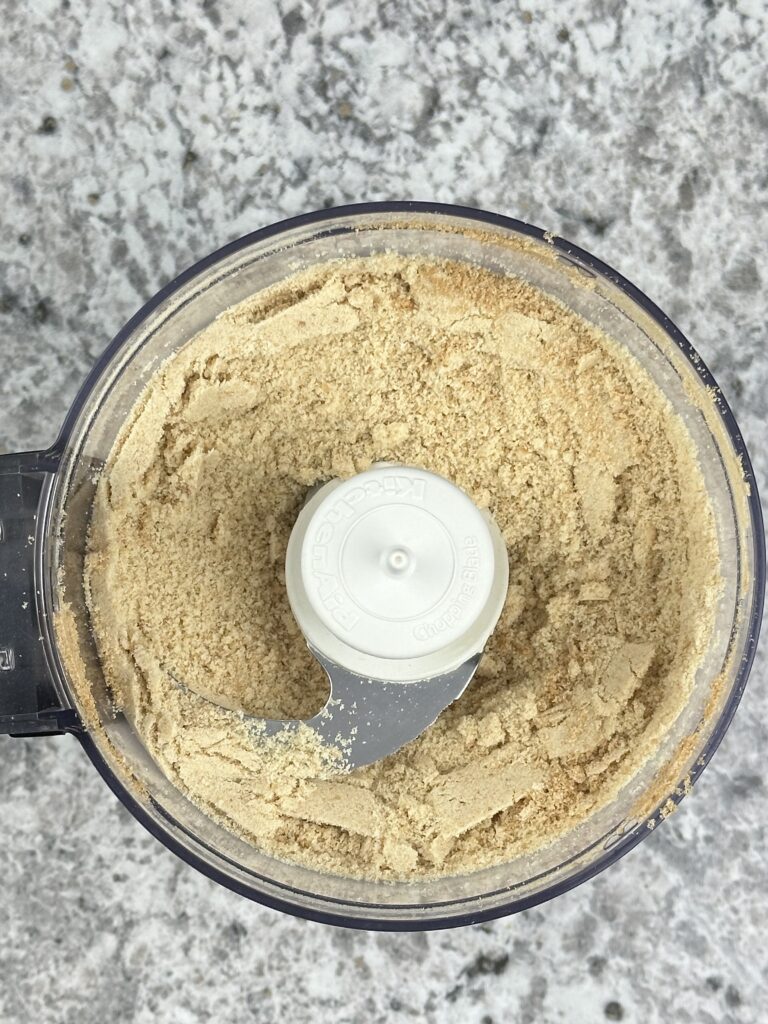
- Use a food processor to pulverize vanilla wafer cookies.
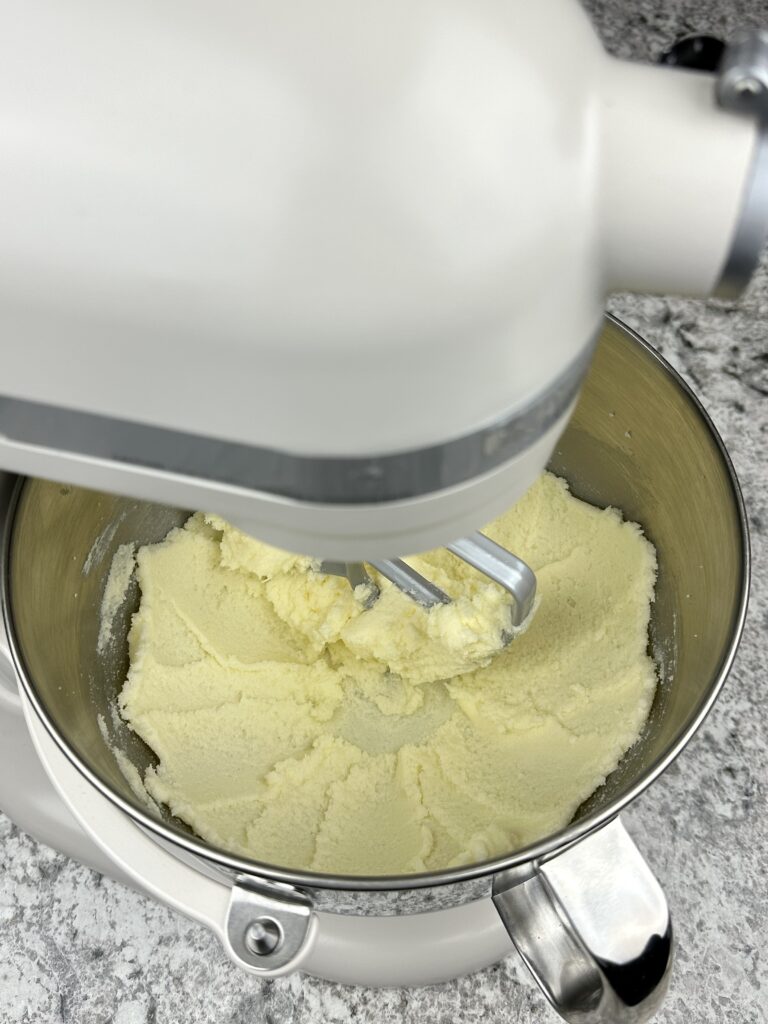
- Beat butter and sugar until light and fluffy.
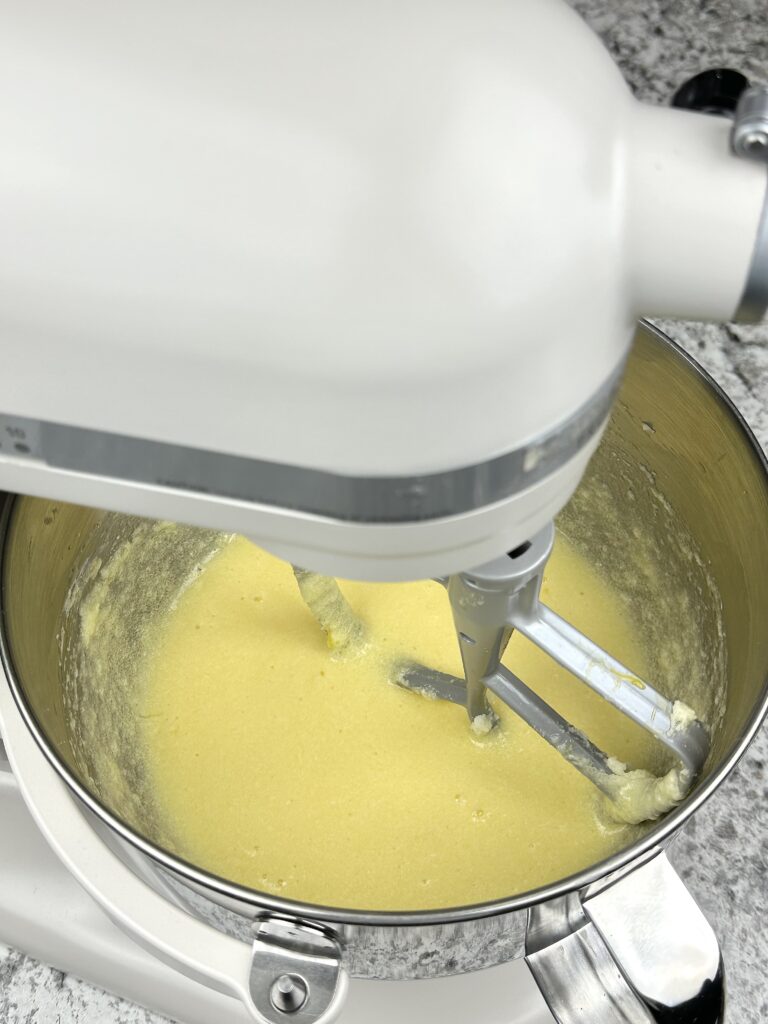
- Add eggs, one at a time. Add vanilla. Beat well.
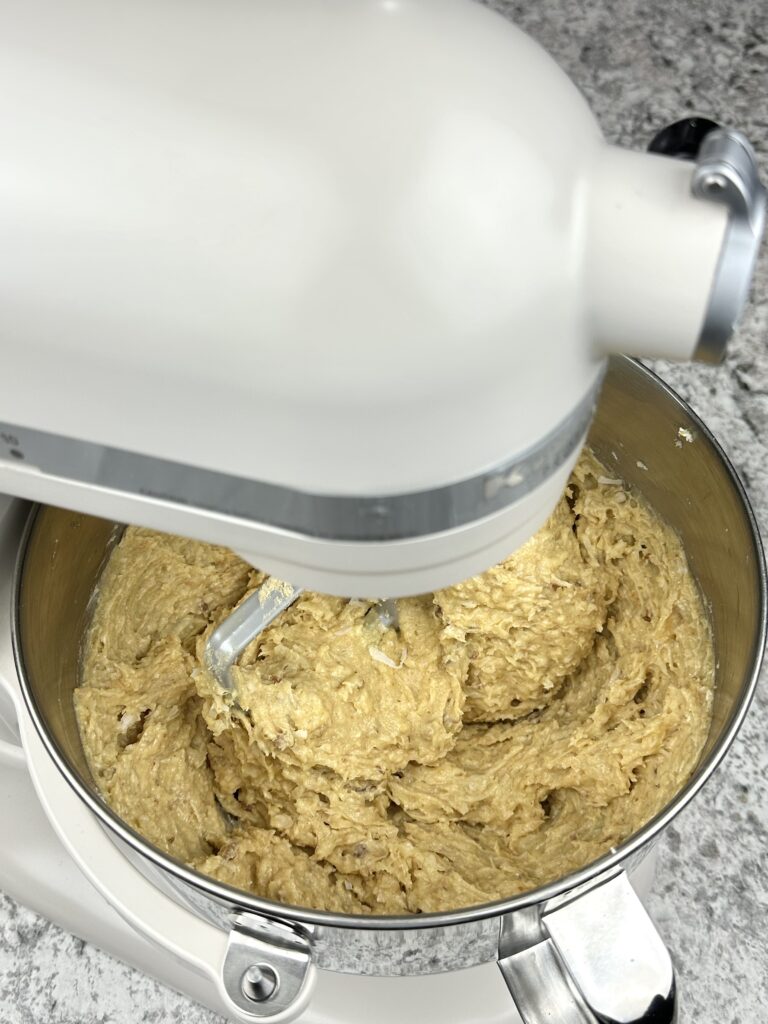
- Reduce speed and add vanilla wafer crumbs, coconut, and pecan. Mix to combine.
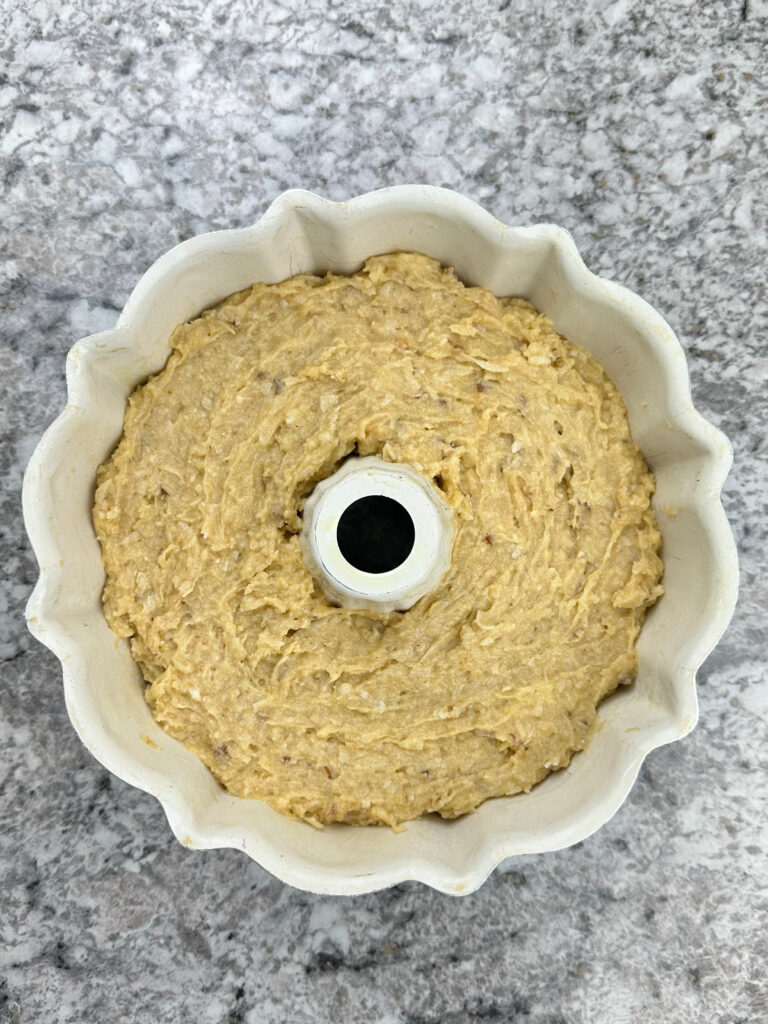
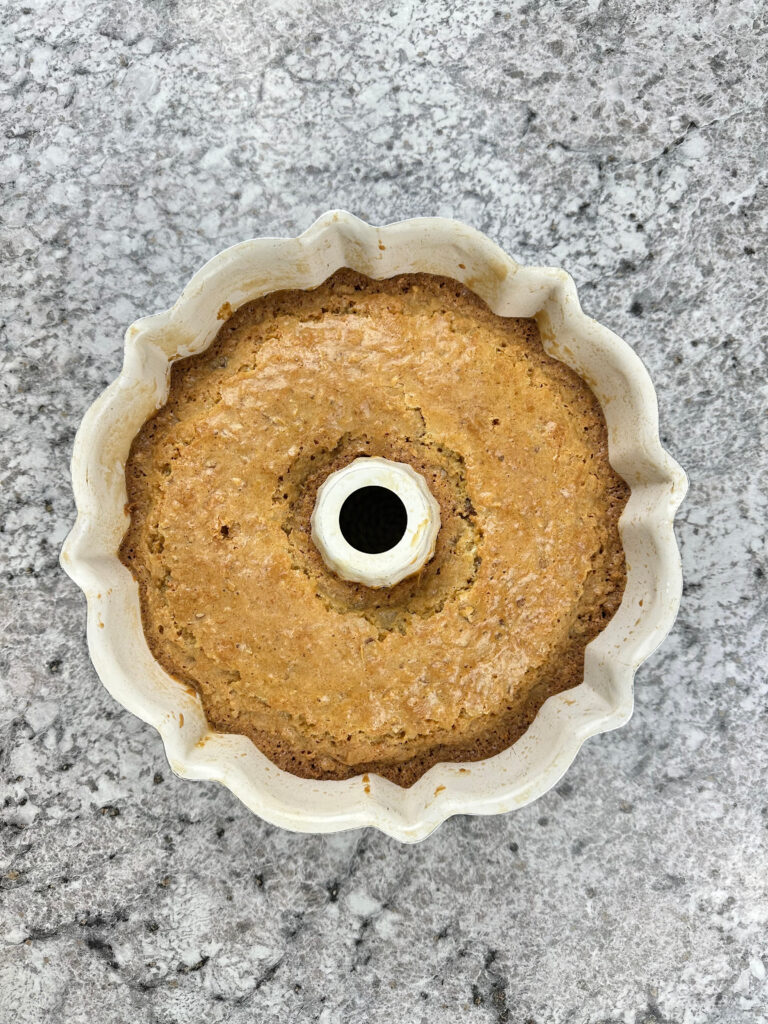
- Pour into prepared bundt pan. Bake for 70 minutes.
- Allow to cool slightly before unmolding.
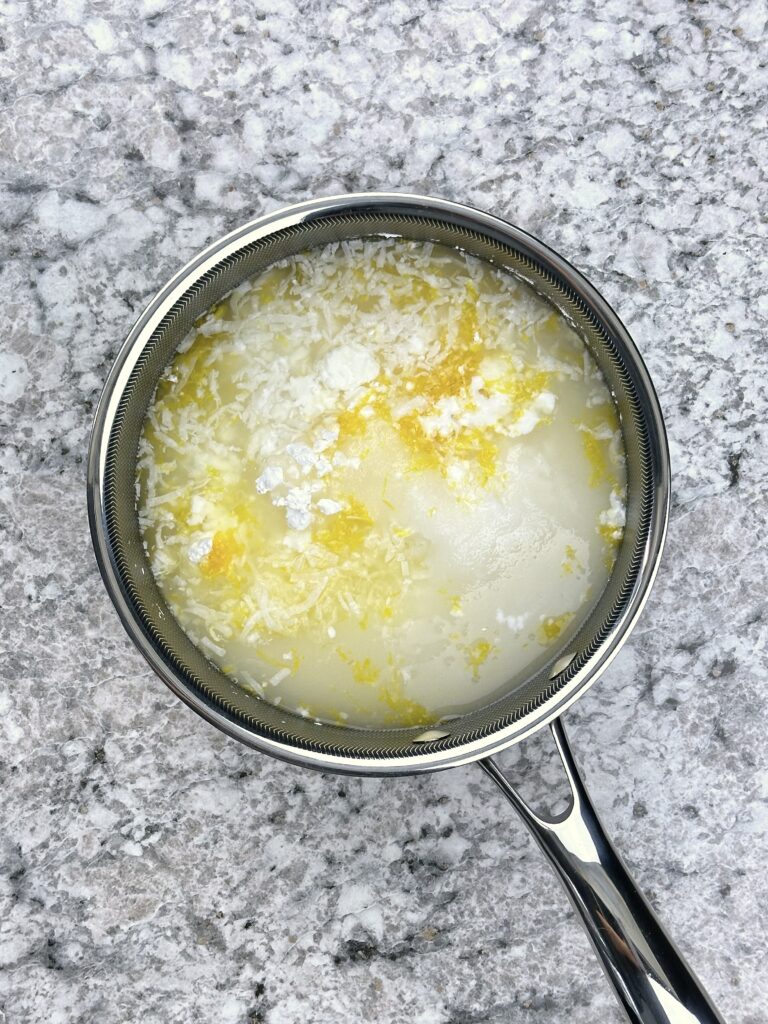
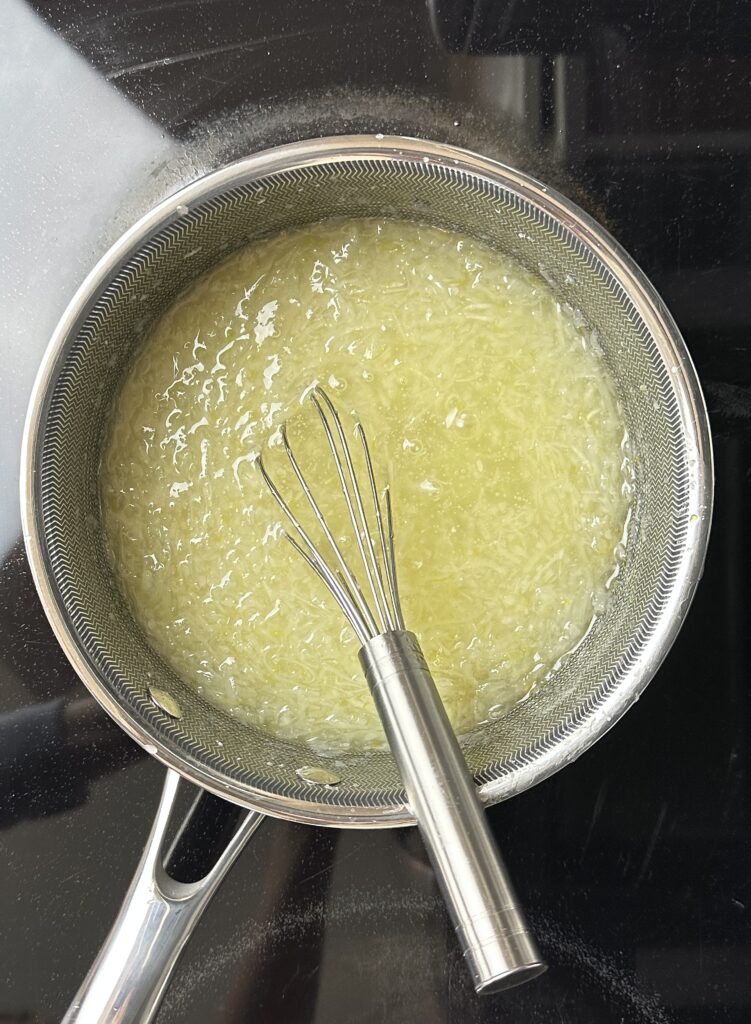
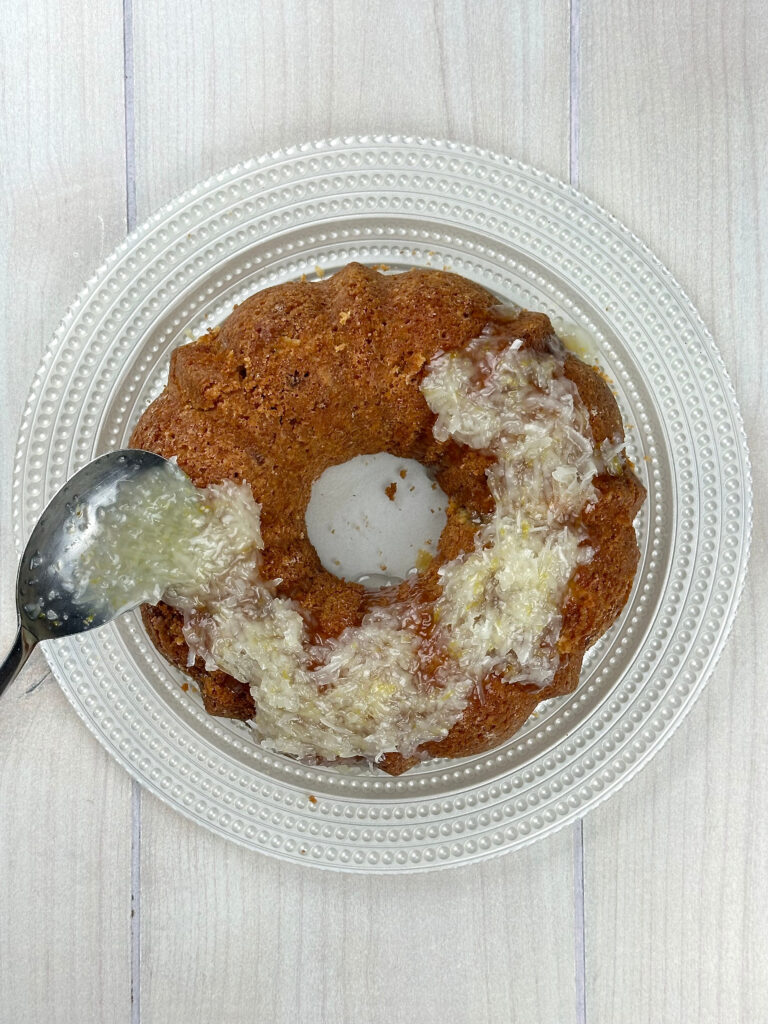
- Place all glaze ingredients in a saucepan on medium heat. Whisk for 15 minutes until thickened. Cool slightly.
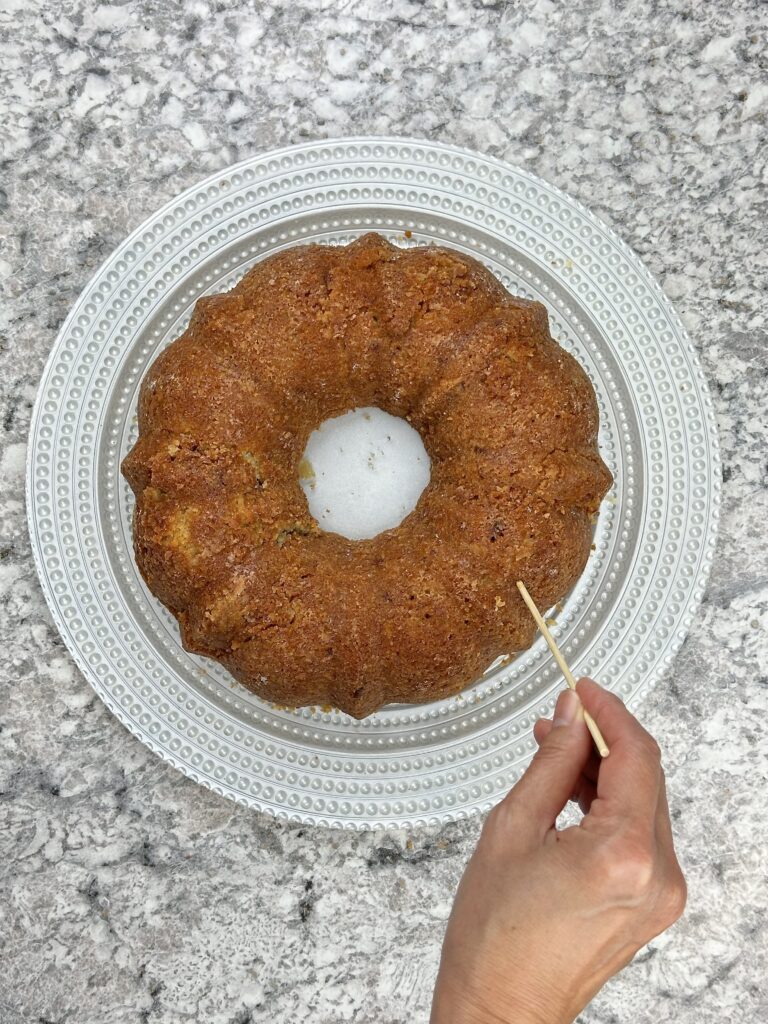
- Use a skewer to poke holes into the cake. Spoon glaze over the cake.
- Detailed instructions are in the recipe card below.
How to store the cake:
This cake can be keep at room temperature for a day or two. Refrigerate if you want to keep it longer than that. Because of the syrupy glaze, I prefer to store the cake refrigerated. It holds up longer chilled.
Using vanilla wafer cookies for the foundation of a cake is unconventional, but it’s so good. The cononuty and lemony glaze is very sweet…I won’t lie, but I can’t get enough of it! Try this cake out at least once in your lifetime. Keep it in mind for your next special occasion. You will be glad you did!
Recommended supplies:
(Affiliate links. The products I recommend are either what I use, are on my wish list, or come highly rated.)
- I use this bundt cake pan all the time. It has a non-stick coating, which helps with easy release of the cake.
- These cooling racks are inexpensive but are my right hand man for cooling baked goods.
- This 3.5 cup capacity food processor for pulverizing the vanilla wafers in seconds. You will need to do it in a few batches.
- A stand mixer to make your mixing job a breeze or a handheld electric mixer will also work as well.
- Hand whisk for preparing the glaze. This one is stainless steel and dishwasher safe.
- Saucepan for cooking the glaze. This stainless steel pan has tapered rim for drip-free pouring.
YOU MIGHT ALSO LIKE THESE RECIPES
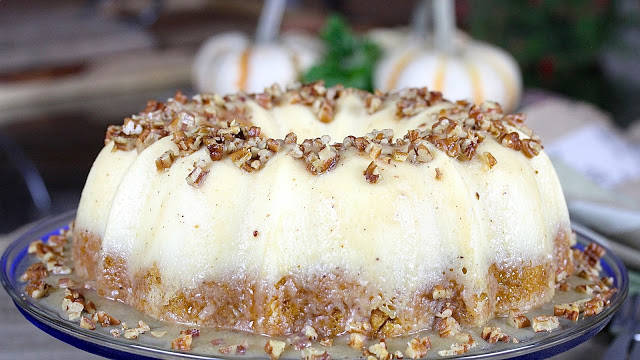 Pumpkin Flan Cake with Maple Brown Butter Glaze
 |
 Chocoflan Tunnel Cake
 |
 Chocolate Crepe Cake with Pumpkin Mascarpone Cream Filling
 |
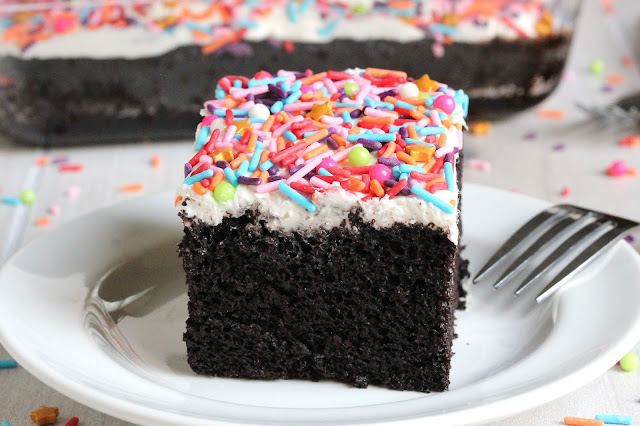 Chocolate Crazy Cake
 |

Grandma Yearwood’s Coconut Cake
Description
I had to give this Grandma Yearwood’s Coconut Cake a try when I first saw it. This rich, moist, and coconutty cake is made with vanilla wafers crumbs and topped with a lemon coconut glaze. It’s simply amazing!
Ingredients
Coconut Lemon Glaze:
Instructions
- Note: If using an 11 oz. box of vanilla wafers, add 1/8 cup flour to the recipe.
- Preheat oven to 325 degrees F.
- Brush soften butter onto a 9-inch bundt cake pan, making sure to cover every crevice. Add a light dusting of flour. Tap out excess.
- Cream butter and sugar until light and fluffy.
- Add eggs, one at a time, then add vanilla extract. Beat well.
- Add vanilla wafer, coconut flakes, and pecans. Mix until well incorporated.
- Pour batter in pan and bake for about 1 hour 10 minutes.
- Allow to cool on a cooling rack for 45 minutes before unmolding. Working your way around the cake, slide a thin blade knife down as far as you can between the cake and the pan to release the cake from the wall. Repeat for the inner circle of the bundt pan. Invert onto a plate and give it a couple of good taps to unmold.
- Place all ingredients in a medium saucepan on medium heat. Cook, stirring until bubbly and thickened (about 15 minutes). Allow to cool slightly before glazing cake.
- Using skewers, poke holes all over the cake. Spoon glaze onto the cake.
- Makes 10-12 servings.
For the glaze:
Notes:
- I prefer to use sweetened coconut flakes in both the cake and glaze. In doing so, I reduce the sugar by 1/3 cup in the cake batter and 1/3 cup in the glaze.
- Be sure to prepare the bundt pan well. I have issues with sticking with cooking spray. I find that the combination of a generous coating of soften butter and a dusting of flour work better.
- Trisha’s recipe instructs to remove the cake from the bundt pan after only 10 minutes of cooling. I find that the cake can be a little delicate to unmold at this point. I have better luck waiting about 45 minutes before unmolding. You can try it at the 10 minute mark if you like. Wait a little longer if it looks like it needs to firm up more.
- If the cake resists coming out of the pan after the cooling period, submerge bundt pan halfway into hot water for a minute or two, then attempt to unmold. Repeat this step a couple times, if needed. The hot water helps to melt the butter to allow the cake to release from the pan more easily.
Disclosure: This site contains paid advertising and affiliate links. In Good Flavor is a participant in the Amazon Services LLC Associates Program, an affiliate advertising program designed to provide a means for sites to earn advertising fees by advertising and linking to Amazon.com.

nice
Chic recipe!
Thanks!!
Print button does not work on your website.
I’m sorry it didn’t work. Please try it now. It should be working.